


A leaky faucet is one of those plumbing problems that is easy to put off, but the costs of waiting add up faster than most homeowners expect. In Neptune Beach, FL, where salt air and mineral-rich water accelerate wear on faucet components, a small drip can become a persistent problem that affects water pressure, increases utility bills, and eventually damages surrounding fixtures or cabinetry. Understanding what causes faucet leaks and when to call a professional is the most useful thing a Neptune Beach homeowner can know. Here are ten expert tips to help you address the issue the right way.
Identify the Source of the Leak
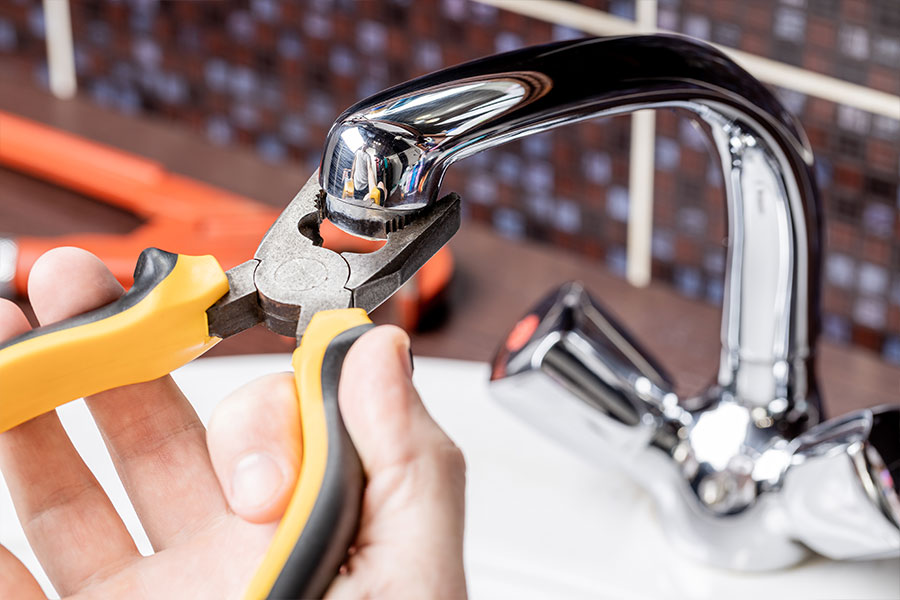
The first step in addressing a leaky faucet is determining exactly where the leak originates. A thorough visual inspection of the faucet, including the base, handle, and the pipe connections beneath the sink, helps narrow down which component is responsible.
In our service calls throughout Neptune Beach and the surrounding coastal communities, worn washers, corroded O-rings, and loose fittings are among the most common culprits. Identifying the source accurately is what makes the difference between a repair that holds and one that needs to be revisited. For faucet repair and installation in Jacksonville, FL, our licensed team can pinpoint the problem quickly and address it with the right solution the first time.
Shut Off the Water Supply
Before any work on a leaky faucet begins, the water supply to that fixture needs to be shut off. This step prevents additional water from flowing during the repair and reduces the risk of water damage to the surrounding area.
Locate the Shut-Off Valve
Most faucets have a dedicated shut-off valve located beneath the sink. If there is no valve under the sink, check behind the toilet or in a utility area nearby. Turning the valve clockwise closes the water supply to that fixture without affecting the rest of the home.
If no individual shut-off valve exists, the main water supply to the home will need to be turned off instead. This is typically located near the water meter or at the home’s entry point.
Turn the Valve Clockwise
Once the shut-off valve is located, turn it clockwise slowly and firmly until it stops. Avoid applying excessive force, as overtightening can damage the valve itself. With the water supply closed, the repair can proceed without the risk of an active drip or unexpected flow.
Relieve Pressure
After shutting off the water, relieving any residual pressure in the line is an important step before disassembly begins. Turn on the faucet briefly to allow any remaining water in the line to drain out. Once the flow stops completely, the line is depressurized and safe to work on.
Disassemble the Faucet
Accessing the internal components of a leaky faucet requires careful disassembly. Rushing this process or using the wrong tools can damage parts that would otherwise not need replacement.
Remove the Faucet Handle
The faucet handle is typically secured by either a set screw or a decorative cap concealing a fastener beneath. A hex key is used for set screws, while a flat-head screwdriver can carefully remove a snap-on cap. With the fastener removed, the handle pulls free and reveals the internal valve components.
Unscrew the Retaining Nut
The retaining nut holds the faucet stem in position. A basin wrench provides the right leverage to loosen and remove this ring-shaped component without damaging the surrounding fixture. Once removed, the faucet stem can be pulled out for inspection.
Extract the Valve Assembly
With the stem removed, the full valve assembly becomes accessible. The O-rings, springs, and valve seat can now be inspected for wear or damage. This is the stage where the root cause of most faucet leaks becomes clearly visible. Careful handling during extraction protects components that are still in serviceable condition.
Replace the Washers and Seals
Worn or degraded washers and seals are the most frequent cause of a dripping faucet. Once the valve assembly is removed, the old washers and seals can be taken out and replaced with properly sized components.
Correct sizing and proper seating of replacement parts are essential for a lasting repair. A washer that is even slightly off in size will not create the seal needed to stop the drip. This is one of the reasons a professional technician’s familiarity with different faucet makes and models is genuinely valuable on these jobs.
Clean and Inspect the Faucet Components
Cleaning the internal components thoroughly during a repair prevents residual mineral buildup from causing problems after reassembly. In Neptune Beach, FL homes, where water quality can vary and salt air accelerates corrosion on exposed fittings, this step is especially important.
Disassemble the Faucet Completely
A complete disassembly allows every component to be examined individually. The handle, stem, washers, O-rings, and springs should each be removed and set aside in order so reassembly proceeds without confusion.
Inspect Washers and Seals
Each rubber washer and seal should be examined for cracking, flattening, or visible wear. Even components that appear intact may have lost enough elasticity to allow water to bypass them under normal operating pressure.
Clean All Components Thoroughly
A soft-bristled brush and mild detergent remove mineral deposits and debris from faucet parts effectively without causing damage. Each component should be rinsed and dried before reassembly. Skipping this step can allow existing buildup to interfere with the performance of new parts.
Reassemble the Faucet Properly
Reassembly should follow the reverse order of disassembly. The faucet stem seats back into the body, the retaining nut secures it in place without overtightening, and the handle is reattached with the fastener aligned correctly. Proper seating of every component at this stage is what determines whether the repair holds over time.
Test the Repaired Faucet
With reassembly complete, the water supply can be restored and the faucet tested for leaks. Running the faucet through its full range of motion while checking all connection points and the base of the fixture confirms whether the repair was successful. If any dripping persists, further investigation is needed before closing up the work area.
When to Call a Professional Plumber
Some faucet repairs go beyond what a straightforward component replacement can solve. Corroded valve seats, damaged cartridges, and internal faucet body damage are situations where professional tools and experience make a meaningful difference in the outcome.
Plumbing emergencies involving burst pipes or significant water damage also require immediate professional response. Working in homes across Neptune Beach and the broader Jacksonville Beach area, our team regularly handles faucet issues that started as minor drips and progressed into more involved repairs because the underlying problem was not fully addressed. Calling a licensed plumber at the right stage saves time and prevents additional damage.
Common Causes of Leaky Faucets
Understanding what causes faucet leaks helps Neptune Beach homeowners catch problems early and make more informed decisions about repair versus replacement:
- Worn washers or seals: Rubber components inside the faucet degrade over time, allowing water to escape even when the handle is fully closed
- Mineral buildup: Hard water deposits gradually obstruct internal faucet components, increasing wear and contributing to leaks
- Loose faucet handle: A handle that is not properly secured creates gaps through which water can seep
- Damaged faucet cartridge: The cartridge controls water flow, and deterioration or damage to this component frequently causes persistent dripping
Tips for Preventing Future Faucet Leaks
Preventive care extends the life of faucet components and reduces the likelihood of recurring leaks. Periodic professional inspection of internal parts allows worn washers, gaskets, and O-rings to be identified and replaced before they fail completely.
Cleaning the aerator regularly maintains healthy water flow and reduces strain on internal components. Monitoring water pressure is also worthwhile. Excessive pressure accelerates wear throughout the plumbing system, not just at faucets. If pressure seems unusually high, a licensed plumber can evaluate whether a pressure regulator is needed. Pairing routine faucet maintenance with water leak detection and repair gives Neptune Beach homeowners a comprehensive picture of their plumbing system’s health.
Keeping Neptune Beach Homes Leak-Free
A dripping faucet can waste up to 3,000 gallons of water per year, and in a coastal community like Neptune Beach, where water conservation matters, that is worth taking seriously. Addressing faucet issues promptly protects your home, reduces utility costs, and prevents minor wear from becoming a more involved repair.
If a leaky faucet in your Neptune Beach home has proven difficult to resolve, or if you would rather have a licensed professional handle it from the start, contact our team today to schedule a service visit.